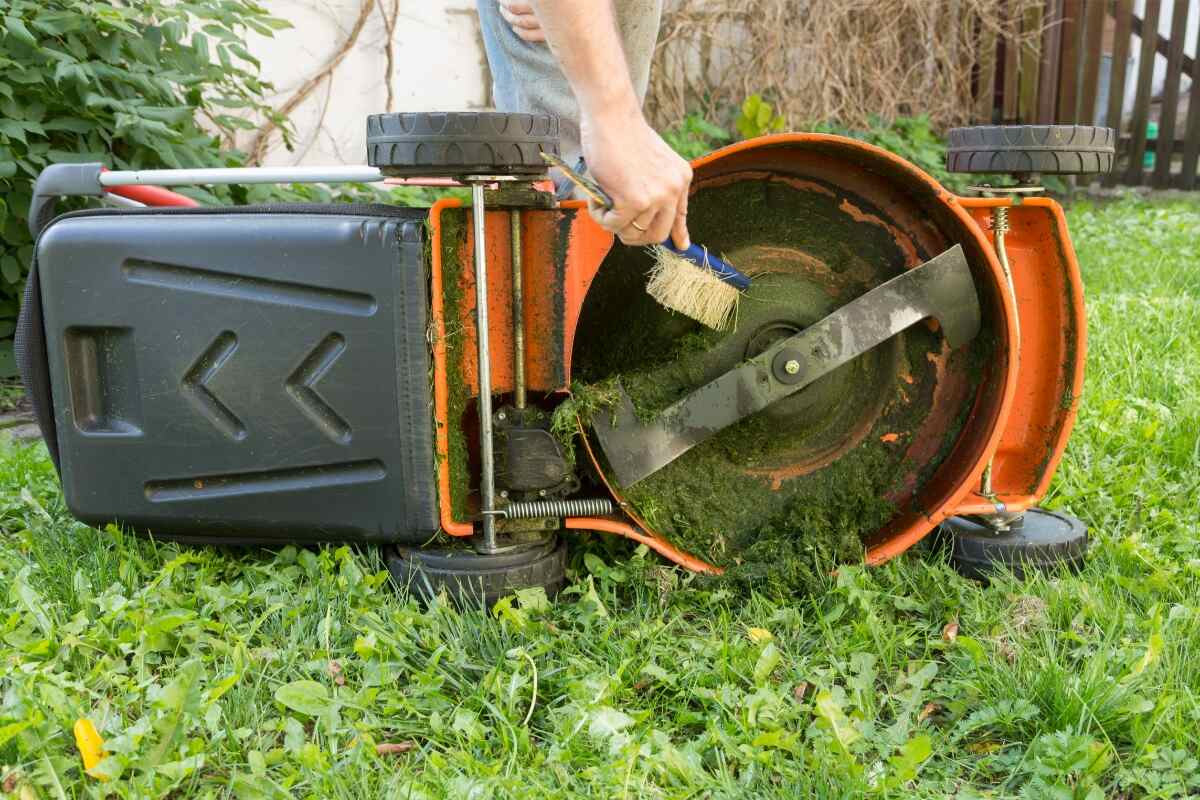
A lawn mower deck clogged with grass clippings and dirt can spoil the appearance of your lawn, reduce the mower’s cutting speed, and promote corrosion and rust. Luckily, all these issues are easily avoidable with regular cleaning. In this article, learn how to clean the underside of a lawn mower (aka the mower’s deck) to improve your mower’s performance and prolong its lifespan.
How to Clean the Underside of a Lawn Mower in 11 Easy Steps
Follow these steps to clean the underside of your lawn mower and improve its cutting performance.
Step 1: Drain the Gas and Disconnect the Spark Plug
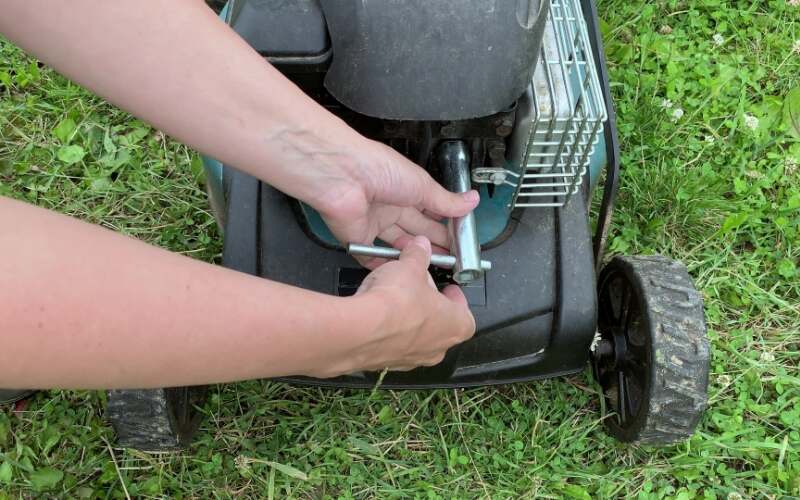
If you use a gas-powered lawn mower, carefully empty the gas tank so that gas and water do not mix while you’re cleaning. Follow our guide on How To Drain Gas From a Lawn Mower to drain the gas smoothly and easily. For your safety, remember to disconnect the spark plug wire before you drain the gas.
If you use an electric lawn mower, remove the battery or ensure the cord is not plugged in to keep the lawn mower from starting while you’re cleaning it.
Step 2: Assemble the Tools
You will need the following items to clean the underside of your lawn mower:
- Ratchet or wrench
- Hydraulic jack
- Garden hose or pressure washer
- Plastic scraper or putty knife
- A can of compressed air (optional but highly effective)
- A rag and lubricating oil
- Safety gear (gloves and goggles)
Step 3: Choose a Feasible Location
Choose a well-ventilated, level area to make cleaning your mower more comfortable. Place the mower on a flat surface or sawhorse to gain better access to the underside. Place wooden wedges (or other stops) underneath its rear wheels to keep the lawn mower from sliding backward.
Step 4: Tilt or Lift the Lawn Mower to Access the Underside
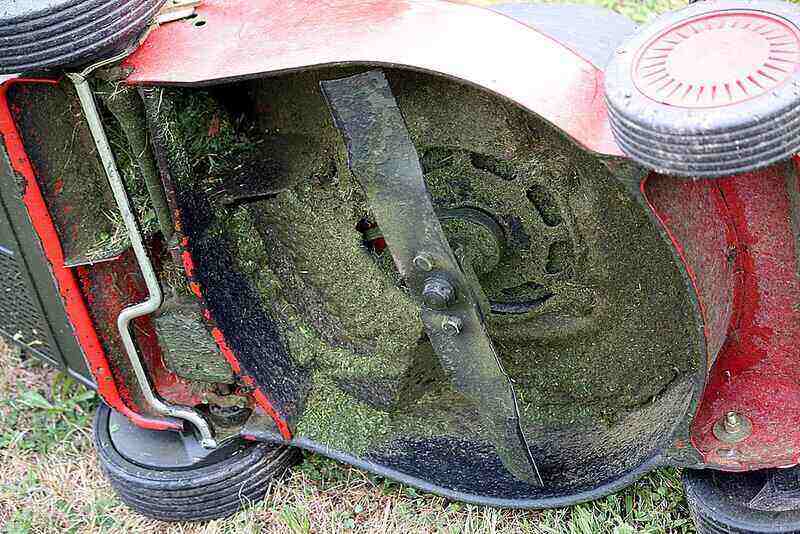
Tilt the mower on its side (air filter side up) so you can access the underside. You can also access the bottom of the mower deck by lifting it up to its maximum height using a hydraulic jack. On some mowers, you can remove the deck to clean the underside properly.
Step 5: Wash Away the Dirt
Use your garden hose or a pressure washer to blast away the big chunks of dirt and grass build-up you see on the underside of the deck.
Step 6: Remove the Mower’s Blades
If you still see any dirt or debris on the underside, you must clean it deeply. For this purpose, you must first remove the lawn mower’s blade. While the blade is being removed, inspect it for any damage or dullness. A sharp blade is vital for a clean cut, so, if needed, sharpen the lawn mower’s blades before reattaching them later.
Step 7: Scrape Off the Remaining Debris

Use a wire brush or a putty knife to gently scrape away the remaining debris. A wire brush is an excellent tool for cleaning. Its firm bristles aid in the removal of tenacious caked-on grass and dirt. To avoid damaging the deck, begin in the center and work your way outward.
If you have access to compressed air, it can be a game-changer for this task. Blow away loose dirt and grass clippings with the air.
Pro Tip: Remember to wear protective eyewear for this stage since debris will be flying all over the place.
Step 8: Detect and Treat Rust
Rust is a lawn mower’s worst nightmare. Examine the underside for any signs of rust or corrosion. Don’t be alarmed if you notice rust. There are efficient methods for dealing with it.
Begin by scraping away loose rust with a wire brush. You can also use a silicone spray or a thin oil coating to help build a moisture-resistant barrier.
Then, to avoid future corrosion, use a rust converter or rust-resistant paint. Just make sure you follow the manufacturer’s recommendations when applying these products.
Step 9: Reinstall the Blades
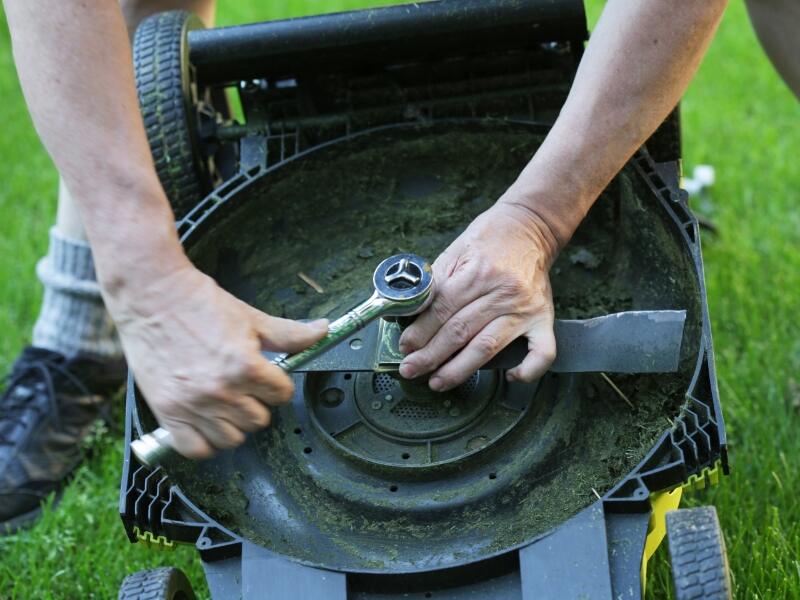
Carefully reattach the cleaned and sharpened mower blade or blades. Locate the spindle on the mower’s underside and align the holes in the blade with it. Place the blade on the spindle and secure it with the nut or bolt you removed before. Tighten it securely, but be careful not to overtighten it, since this can harm the blade or spindle.
Step 10: Reattach the Deck (If You Removed It)
If you removed the deck to clean the mower more thoroughly, now is the time to reattach it. Follow the manufacturer’s directions for deck reattachment, ensuring all brackets and pins are in the correct positions.
Step 11: Reconnect the Spark Plug and Run the Mower
When you’re done cleaning, it’s safe to reconnect the spark plug wire. Once everything is back in place, start the mower and let it run for a few minutes to confirm everything works properly. Watch out for strange noises or vibrations that may signal something was put back incorrectly.
When to Clean the Underside of Your Lawn Mower
Cleaning the underside of your lawn mower is an integral part of routine maintenance, and the timing of this activity depends on your mower’s usage and the grass-cutting season.
The best times to clean your mower’s deck are as follows:
- After Each Use (Preferred): Ideally, you should clean the underside of your lawn mower after each use. This approach prevents grass clippings, dirt, and moisture from accumulating and hardening on the deck, which can cause corrosion, decreased cutting performance, and even damage the mower over time.
- End of the Mowing Season: If you use your lawn mower seasonally and intend to store it for a lengthy period, you at least must thoroughly clean the underside before storing it when you perform other tasks to winterize your mower, like draining the gas. It prevents rust and damage by ensuring no residue or debris remains on the mower during the off-season.
- Before Major Maintenance: If you intend to do substantial lawn mower maintenance operations, such as blade sharpening or air filter replacement, it’s a good idea to clean the underside, too. Cleaning improves visibility and access to vital components while keeping dirt out of sensitive areas during maintenance.
- Decrease in Performance: If your lawn mower isn’t cutting as well as it used to, or if you have uneven cuts, it’s a sign that the underside needs to be cleaned.
Why Cleaning the Underside of a Lawn Mower Deck is Necessary
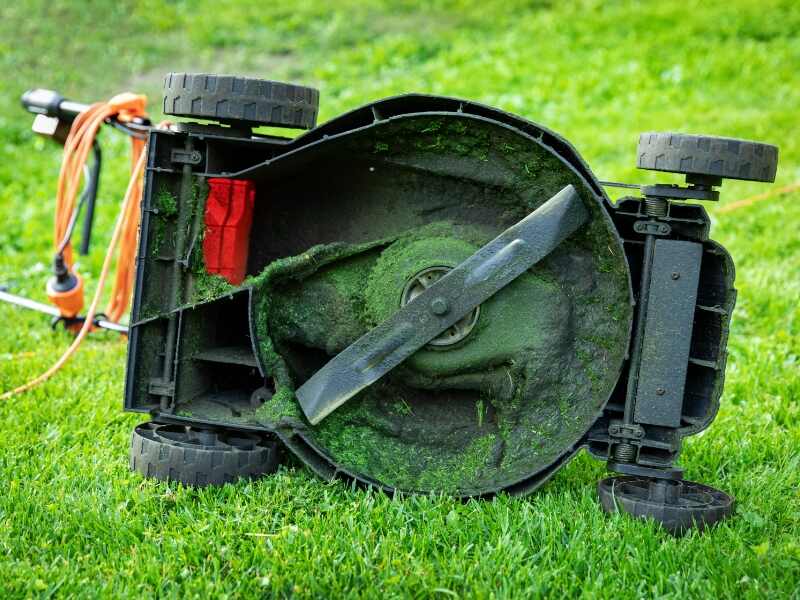
Cleaning the underside of your mower might not seem like much, but it is an important part of lawn mower maintenance. After each usage, the underside of your mower gathers a substantial quantity of dirt, grass clippings, and moisture. If left unchecked, this buildup can cause several issues that affect the mower’s performance.
When you mow your lawn, the sharp blades beneath your mower cut through the grass like a hot knife through butter. That’s fantastic for your yard, but it means grass clippings become trapped underneath. These cuttings can accumulate over time, resulting in a cluttered, matted covering that is not only ugly but also causes problems like:
- Reduced Airflow: A clogged underside can make it difficult for your mower to breathe properly. When air does not circulate properly, your mower’s carburetor can overheat. You can also look at the air filter in your mower if you notice overheating or other airflow-related issues. See our guide on How to Clean and Change a Lawn Mower Air Filter to learn more.
- Moisture and Rust: Grass clippings provide an ideal breeding environment for moisture and rust. Rust is the kryptonite of your mower’s lifespan. It can damage crucial parts and reduce the reliability of your mower over time.
- Fungal Diseases: The dirty and congested underside of the mower also welcomes many fungal diseases, which your mower then spreads to your lawn.
So, what can you do to prevent these issues? It’s actually quite straightforward. Make it a habit to clean the underside of your mower religiously. To make your mower last as long as possible, practice a routine lawn mower maintenance plan that includes:
- Sharpening the mower blades at least once at the beginning of the mowing season
- Cleaning or changing the air filter at least once during the mowing season (gas mowers only)
- Checking and changing the spark plugs as necessary (gas mowers only)
- Checking and changing the engine oil every 25-50 hours of use (gas mowers only)
- Winterizing the mower before storing it for the off-season, which for gas mowers means draining the gas from the engine, and for electric mowers means checking the cords before storage or properly putting the batteries away
These regular maintenance practices can increase your mower’s lifespan and keep it in top working condition for years.
FAQ About Cleaning Lawn Mowers
How often should I clean the underside of my riding lawn mower?
Cleaning the underside of your riding mower depends on its usage. Generally, cleaning it after every use is best, especially in damp environments. But experts suggest cleaning at least twice a year.
Is it better to mow when the grass is dry or damp?
It’s generally best to mow when the grass is dry to prevent clumping and achieve a cleaner cut. Wet grass can clog the mower deck and lead to uneven cutting. For more know-how on mowing, check out our top lawn mowing tips.
What kind of lawn mower is the easiest to clean?
For easier cleaning, look for mowers that include a “deck wash” or “deck cleanout” feature. With this feature, you can simply attach your garden hose to a port on top of the cutting deck, and the water will pass through a deck adapter to spray the mower’s underside.
Say Goodbye to Mower Cleaning and Hire a Pro Instead
When you have a busy life full of family, friends, work, and hobbies, keeping the lawn mower clean is easy to forget. It’s a good thing there are lawn care pros to help out! When you hire a local lawn care company to mow your lawn for you, you can cross mowing and mower maintenance off your list in one fell swoop – all while supporting a local small business.
Let LawnStarter connect you with the best lawn care pros in your area through our convenient online platform or mobile app, and kiss lawn mower cleaning goodbye forever.
Main Photo Credit: Aigars Reinholds / Canva Pro / License



![7 Best Gas Lawn Mowers of 2023 [Reviews]](https://www.lawnstarter.com/blog/wp-content/uploads/2021/07/Best-Gas-Lawn-Mowers-150x150.jpg)
![8 Best Battery-Powered Lawn Mowers of 2023 [Reviews]](https://www.lawnstarter.com/blog/wp-content/uploads/2021/06/Best-Battery-Powered-Lawn-Mowers-150x150.jpg)
![9 Best Lawn Mowers Under $200 [Reviews]](https://www.lawnstarter.com/blog/wp-content/uploads/2021/07/Best-Lawn-Mowers-Under-200-150x150.jpg)