Before you break out the aerator and seed spreader, your soil needs some preparation and care. From testing your soil to dethatching and watering, we’ll show you how to prepare your lawn for aeration and overseeding.
Preparing your soil for aeration and overseeding is like prepping a canvas before painting a masterpiece, the masterpiece of a healthy and beautiful turf. Aeration allows air, water, and nutrients to penetrate deep into the root zone. However, if your lawn isn’t properly prepared beforehand, the effectiveness of the aeration process can be compromised.
Don’t forget special steps like choosing the right aerator and marking underground obstacles to facilitate the aeration process. Learn the benefits you are bringing to your turf. Decide when it’s time to call a lawn professional to help you with all these pre-aeration and overseeding checklists that are crucial for success.
Preparing Your Lawn for Aeration and Seeding
From tackling thatch to mastering the art of mowing and watering, follow these easy-to-follow steps to prepare your yard for aerating and seeding.
The time required to prepare your lawn for aeration can vary depending on the specific needs of your lawn. While some lawns may require dethatching to ensure optimal conditions, others might only need a quick trim before diving into aeration. It all depends on the current health and condition of your lawn.
Step 1: Test Your Soil
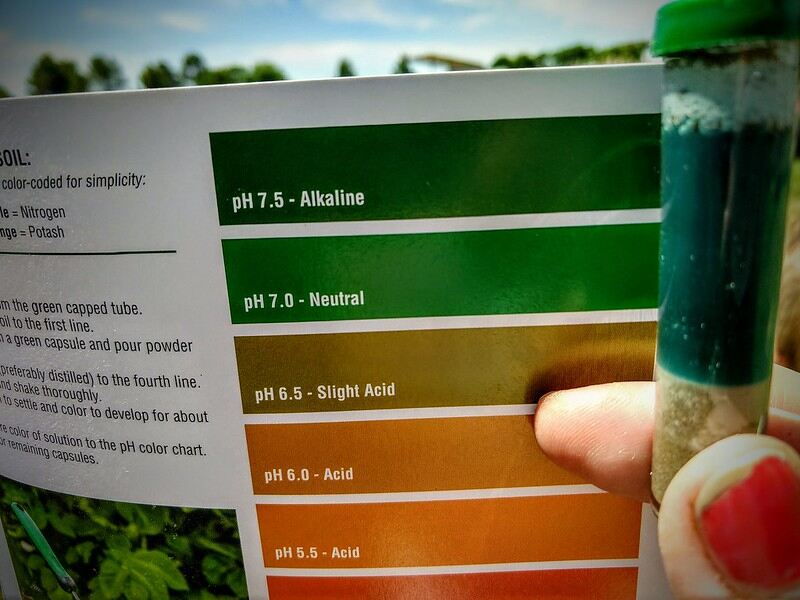
A pre-aeration and overseeding step often overlooked that can make a world of difference is to test your soil.
If you choose to follow up your aeration treatment with fertilizer or lime, testing your soil beforehand is a smart move. This test can provide invaluable insights into your soil’s pH levels and nutrient content, helping you choose the right treatment for it (check out this article on Why, When, and How to Test the Soil pH of Your Lawn).
Step 2: Choose an Aerator Method
To choose the right aeration tool for you, you need to decide between core aeration or spike aeration, depending on your lawn’s needs.
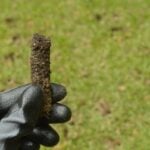
Core aeration involves pulling out small plugs of soil from your lawn, allowing air, water, and nutrients to reach the roots more easily. On the other hand, spike aeration simply pokes holes into the ground without removing any soil.
While both methods can help improve soil health, core aeration is generally considered more effective because it creates space for roots to spread out and reduces soil compaction.
Here are the tools you can choose for either core or spike aeration:
- Manual aerator: This looks like a stick with a T-shape. It is operated by pressing your foot down like a shovel. This tool is good for small areas.
- Push-behind aerator: This looks like a mower and is gas or electric-powered. They are good for larger areas and you can rent them.
- Tow-behind aerator: If you have a lawn tractor, you can attach a tow-behind aerator. This option is perfect for larger properties, as it allows you to cover more ground quickly and effectively. They can be rented.
Step 3: Mow Your Lawn
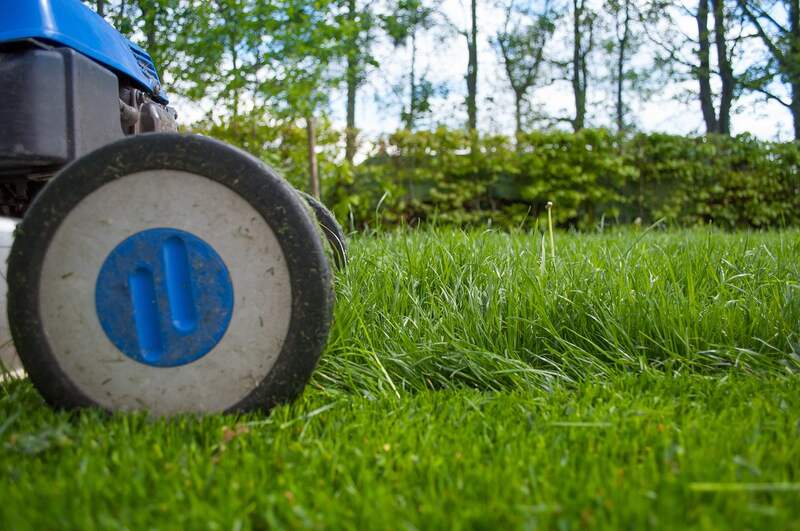
Mowing your lawn is a simple step, but oh-so-important for setting the stage for a healthy lawn.
Throughout most of the year, following the One-Third Rule is a good idea to avoid stressing out your lawn. This rule suggests that you cut no more than one-third of the grass blade in one mow session.
Before aerating and overseeding, it’s best to mow down your grass type to its lowest recommended point (without breaking the one-third rule, of course). Why? Well, a shorter lawn sets the perfect scene for aeration and seeding to happen. Check out these Lawn Mowing Tips: How to Mow a Lawn the Right Way.
Here are the recommended mowing heights for cool-season grasses:
| Grass type | Ideal lawn height (inches) |
| Tall Fescue | 2 – 4 |
| Perennial ryegrass | 2- 3 |
| Kentucky bluegrass | 2 – 3 |
| Fine Fescue | 1.5 – 3 |
Here are the recommended mowing heights for warm-season grasses:
| Grass type | Ideal lawn height (Inches) |
| Bahiagrass | 3 – 4 |
| Bermudagrass | 1 – 2 |
| Buffalograss | 2 – 4 |
| Carpetgrass | 1 – 2 |
| Centipedegrass | 1.5 – 2 |
| St. Augustinegrass | 2.5 – 4 |
| Zoysiagrass | 1 – 2.5 |
Step 4: Dethatch Your Lawn
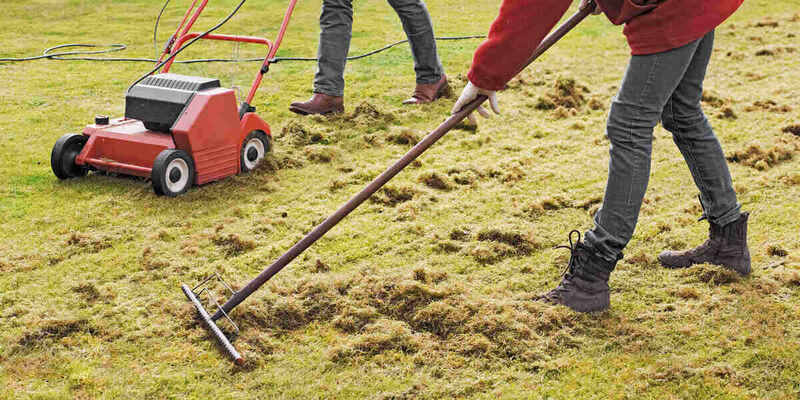
Thatch is the layer of dead grass and debris that accumulates between the soil and greenery. It is normal to some extent. However, when it thickens beyond one-half inch, troubles await. Clearing away thatch before aerating your lawn makes the whole process faster and easier.
This dense thatch impedes water and nutrient absorption, hindering your lawn’s overall health.
Now, not all lawns will need this step. Dethatching is only done when necessary. How do you know if your lawn needs it? If walking on your grass feels like strolling on a sponge or you notice grass blades thin and weak, you may need to go through this step first (Here’s a guide on When and How to Dethatch Your Lawn).
Step 5: Mark Underground Obstacles
Before you aerate your lawn, it’s time to mark underground obstacles in your yard. Things like sprinkler heads, irrigation lines, in-ground lights, invisible dog fences, and even hoses, pipes, and wires.
The aerator can damage anything hidden less than 6 inches below the surface. So, before you start, use some marking flags and pinpoint the places to be careful. It’s like giving your lawn a friendly heads-up and ensuring your aeration day goes off without a hitch!
If you’re unsure about the location of your underground utilities, call 811 before you dig.
Step 6: Water Your Lawn
Water with 1 inch of water two days before aeration. Water, water everywhere but just the right amount. Before aeration and overseeding, it’s time to give your lawn a drink. You want your lawn to be moist, not drenched.
Post-Aeration and Seeding Instructions
Your lawn is aerated now and ready for seeding. These are the steps to follow (in order) to make the most of this process:
- Leave or remove soil plugs: Soil plugs are packed with nutrients. As they break down, they release those nutrients back into the soil. If you want to speed up the process, you can break apart the soil plugs using a rake or a mowing machine.
If you opt to remove the soil cores. Use a rake to gather them up, but don’t toss them away! Soil plugs are valuable for their nutrient content. Consider adding them to a compost pile where they can continue to benefit your turf in the long run.
- Overseed your lawn: Aerating gives you the perfect time to seed your yard. Whether you’re filling in bare spots or starting fresh, choose the right grass seed variety for your region and yard characteristics (Here’s a guide on How to Overseed a Lawn in 8 Simple Steps).
- Topdress your lawn: This process includes spreading a thin layer of organic material, like sand or compost, over the surface of your grass. Topdressing has many benefits– as the grass grows through this layer, the organic material gradually blends into the soil bringing along a wealth of nutrients
- Water your lawn: Pay extra attention to the first 2 inches of soil. You’ll want to keep this layer moderately damp, which means watering twice a day. Aim for watering sessions of about 10 to 20 minutes each to ensure new seeds get the moisture they need to germinate (Here’s a guide on How Often to Water Grass Seed).
- Fertilize your lawn: Fertilizing your lawn after aeration creates a perfect environment for nutrients to reach the root zone.
- Lime your lawn: Lime raises the pH level of your soil and reduces acidity. With a more balanced environment, your turf can absorb nutrients better. You need to take a soil test to know if your lawn needs lime, and how much you should use (Here’s a guide on Lime for Lawns: Why, When, and How to Lime a Lawn).
- Water your lawn again: After applying lime to your lawn, it’s important to water it. This isn’t just about quenching your grass’s thirst; it’s about washing any lime or fertilizer off the grass blades.
If these chemicals are left sitting on the grass, they could end up burning the turf, which definitely isn’t what you want!
- Protect your lawn from heavy traffic: Holes left behind by aeration need time to heal properly and recover. For the first couple of weeks following aeration and seeding, it’s best to avoid heavy foot traffic.
By giving your lawn this downtime, you’re protecting germinating seeds and allowing your grass to grow stronger roots.
When Is The Best Time to Aerate and Seed?
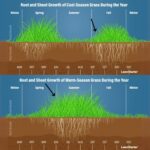
The best time to aerate and overseed your lawn will depend on the type of grass you have and its growing season.
- If you’ve got cool-season grasses, like Fescue or Bluegrass, aim for early spring or fall for aeration and seeding.
- But if you have warm-season varieties, like Bermuda or Zoysia, late spring to early summer is their sweet spot.
Why during their growing season? Because aerating during your grass’s active growth phase helps it recover faster and become stronger. You shouldn’t aerate or overseed too late, as it would be ineffective and a waste of resources.
Benefits of Aeration and Seeding
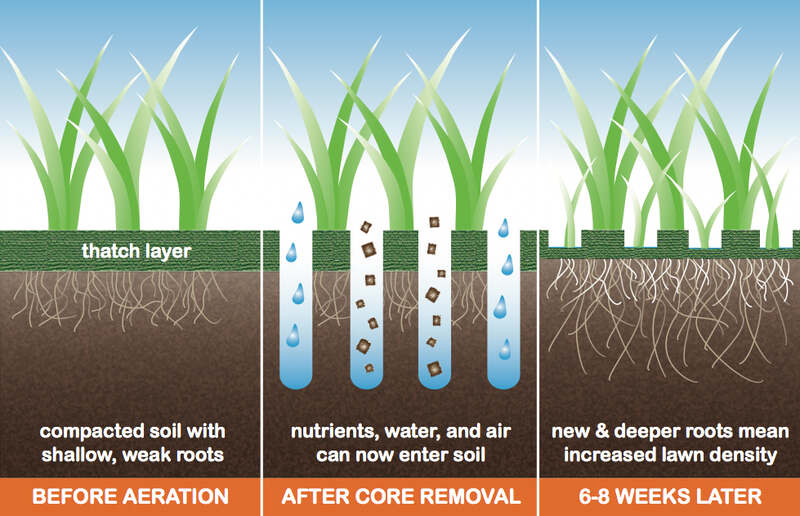
After aeration and seeding you will notice these benefits in your lawn:
- Grass blades become thicker and stronger: Aerating the lawn helps to stimulate the growth of grassroots by allowing better access to essential nutrients, water, and oxygen. As a result, the grass blades develop deeper and denser root systems, leading to thicker and stronger turf.
- Better airflow into the soil: The holes in the soil facilitate airflow to the grassroots. This is vital for a healthy lawn.
- Reduction of thatch buildup: Excessive thatch can hinder water, air, and nutrient penetration into the soil, leading to poor lawn health.
- Better water absorption: The channels created by aeration allow water to reach the grassroots effectively, encouraging deeper root growth. With deeper roots, your lawn becomes more resilient to drought conditions.
- Better fertilizer effectiveness: The aeration process opens up the soil, allowing fertilizers to penetrate deeper and be absorbed more effectively by the grassroots.
- Reduction of soil compaction: Aerating alleviates soil compaction by loosening the soil structure.
- Soil erosion prevention: The aeration process breaks up compacted soil which allows water to infiltrate and reduce surface runoff. Furthermore, deeper root growth anchors the soil in place reducing the risk of erosion.
Signs Your Lawn Needs Aeration and Seeding
What are the signs that your lawn needs aeration and seeding? Pay attention to the following:
- Thatch overload. An accumulation of more than 1 inch of thatch could be preventing nutrients from reaching the soil.
- Areas of your lawn with a lot of foot traffic can become compacted over time.
- Grass blades looking thin and struggling to grow.
- Discolored patches in your lawn.
If you notice more than one of these signs that your lawn may need aeration and seeding do the screwdriver test. Take a screwdriver and try to stick it into the soil. If it’s tough going, your soil is likely compacted and in need of aeration to loosen things up.
Cost of Lawn Aeration
The price of lawn aeration will depend on the size of your yard, the type of aeration, where you’re located, and the labor costs. If you have an average-sized yard, expect to pay between $78 and $238 for lawn aeration.
If you’ve got a big yard, you can expect to pay up to $636 on average. Aerating small yards can average as low as $42.
FAQ About Lawn Care
What is dormant seeding?
Dormant seeding is when you sow seeds during a time of year when the soil isn’t quite warm enough for them to sprout immediately. The idea is that these seeds will lay dormant until the weather warms up in early spring (Check this guide on What is Dormant Seeding? And How to Dormant Seed Your Lawn).
What is fertilizer burn?
Fertilizer burn occurs when plants get damaged because either too much fertilizer is used, the wrong type is applied, or not enough water is used along with the fertilizer (Here’s a guide on What is Fertilizer Burn?)
Is slice seeding effective?
Slice seeding is a quick and efficient way to plant grass seeds. It involves placing the seeds into narrow grooves made in the soil, resulting in a high germination rate of up to 90% (Here’s a comprehensive guide on What is Slice Seeding?).
Hire a Professional to Handle the Prep
If getting your lawn ready for aerating and overseeding is too much to handle alone, call a lawn care professional to mow your lawn and prep the soil. They’ll make sure everything’s done right, so you can relax and watch your lawn flourish without any stress.
Main Photo Credit: Alexas_Fotos / Pixabay / License
