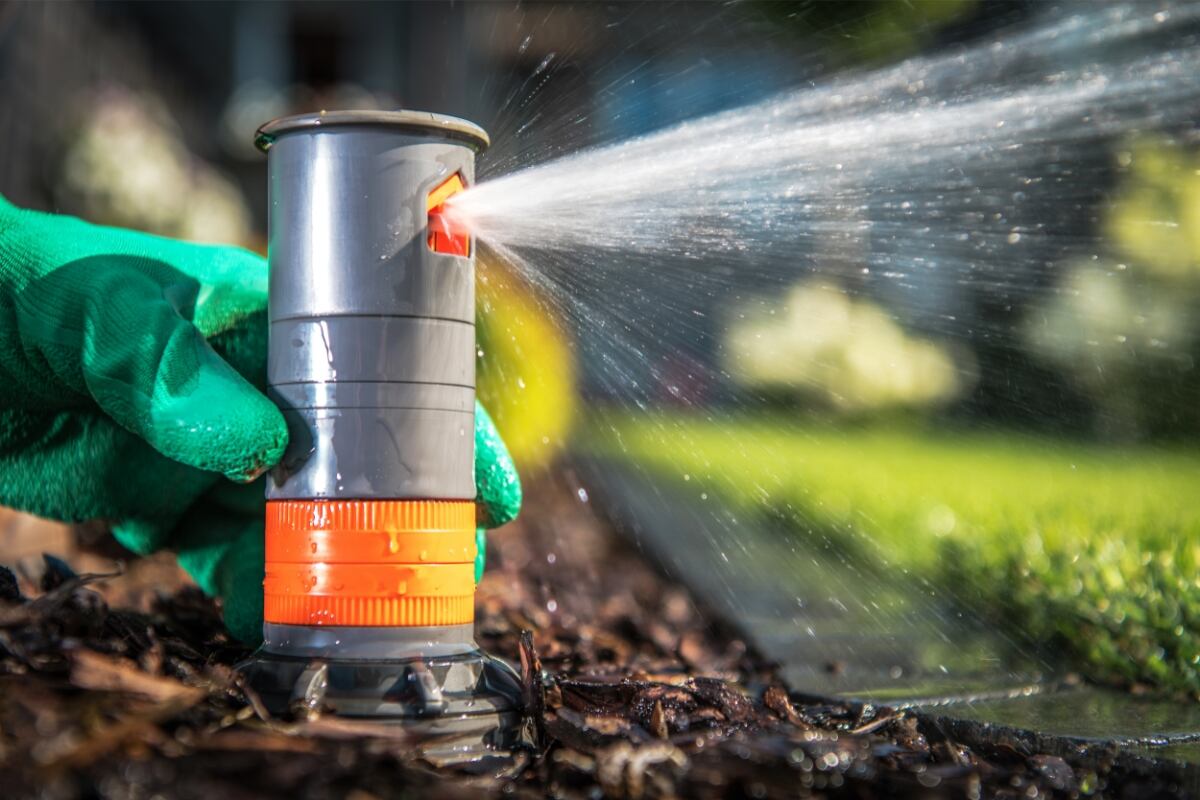
A sprinkler system takes most of the guesswork and hard labor out of growing a beautiful lawn. However, once installed, you can’t just sit back and do nothing. You have to know how to adjust and repair lawn sprinkler heads to keep them running efficiently. Don’t worry. This can easily be a DIY project!
Follow these easy instructions to adjust and repair your lawn sprinkler heads:
- Common Problems with Sprinkler Systems
- How to Adjust a Sprinkler Head’s Spray Pattern
- Tips for Adjusting Sprinkler Heads
- How to Clear Debris from a Sprinkler Head Filter
- How to Repair or Replace a Broken Sprinkler Head
- Who’s Responsible for Sprinkler Head Damage?
- How Your Sprinkler System Works
- FAQs About Adjusting and Repairing Lawn Sprinkler Heads
Common Problems with Sprinkler Systems
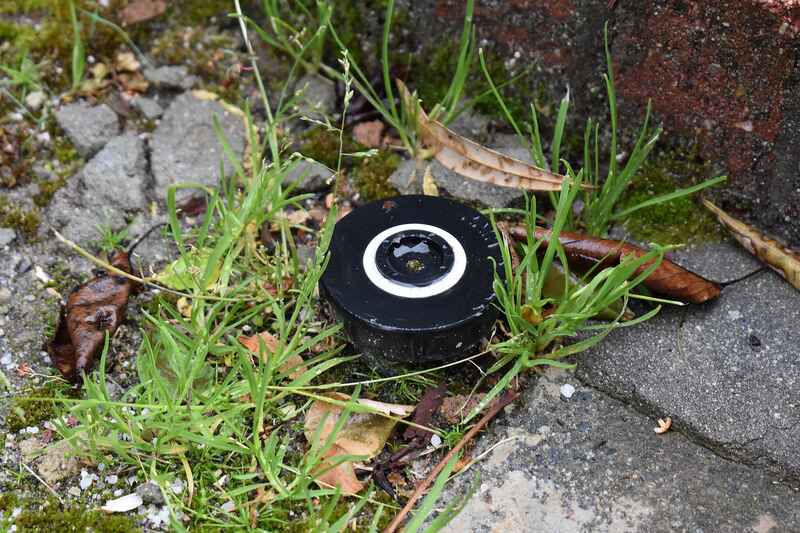
The most common problems people run into with their sprinkler system are:
- Heads aren’t watering where they should.
- Leaking sprinkler heads.
- Individual sprinkler heads don’t work.
- Sprinkler zones are not coming on.
- Leaky zone valves.
- Sprinkler heads with low water pressure.
In many cases, these are easy fixes.
- If your heads aren’t watering where you want them to, they need adjusting to correct their spray pattern and direction.
- If heads are leaking or won’t work, they may need replacing because they’ve broken.
- If sprinkler zones aren’t coming on, there’s likely a bad solenoid valve in the valve box. In this case, it might be worth calling a professional, although solenoid valve replacement can be a DIY project if you’re comfortable working with electrical components.
- If your sprinkler heads have low pressure and aren’t spraying correctly, you could have a leak in the system somewhere (a cracked pipe, a busted head, or a leaking valve in the valve manifold).

How to Adjust a Sprinkler Head’s Spray Pattern
Adjusting sprinkler heads is crucial for ensuring efficient water distribution and avoiding water wastage. At a minimum, you should check the spray pattern of your sprinkler system at least once a year — ideally in the spring when you turn the system on for the season.
If it’s been a while since you’ve done anything with your irrigation system (aside from programming), you may not even remember where all of your sprinkler heads are. So, you’ll first need to turn the system on and conduct a quick sprinkler head audit. Don’t worry, it’s not taxing.
With the sprinklers running, observe how the water is distributed and how much water is emitted. Look for areas where heads aren’t functioning correctly. This includes spots where they are watering unequally or not at all.
Also, note any places they are wetting but shouldn’t be, e.g., hardscapes, the driveway, your house, etc.
Adjusting the spray pattern for the common sprinkler types is pretty straightforward. You’ll need a small flat-head screwdriver and a pair of vice grips or pliers.
For simplicity’s sake, we’ll cover step-by-step instructions for the most common sprinkler heads in lawn irrigation: fixed spray, rotor, and impact.
How to Adjust Fixed Spray Sprinkler Heads
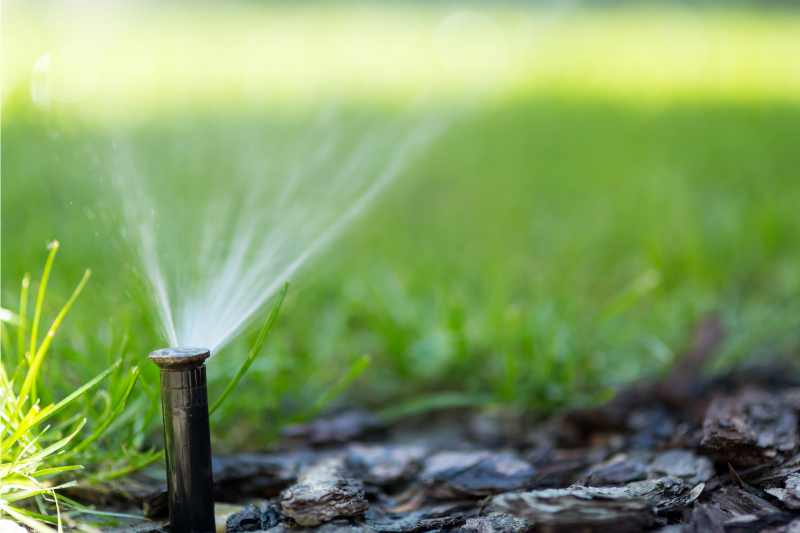
Fixed spray heads can either be pop-up or above-ground units. They come in a fixed spray fan width ranging from 30 to 360 degrees. The fan width cannot be adjusted, but you can adjust the throw distance and the arc position.
- Using a flat-head screwdriver, turn the radius adjustment screw on top of the rotor counterclockwise to shorten the spray distance (e.g., decreasing the radius). Turn the screen clockwise to lengthen the spray distance (e.g., increasing the radius).
- You’ll need to manually turn the sprinkler head’s stem to move the arc’s position. You may be able to grip it firmly and turn the riser or head — gardening gloves with grippy palms can help — or carefully use vise grips.
How to Adjust Rotor Sprinkler Heads
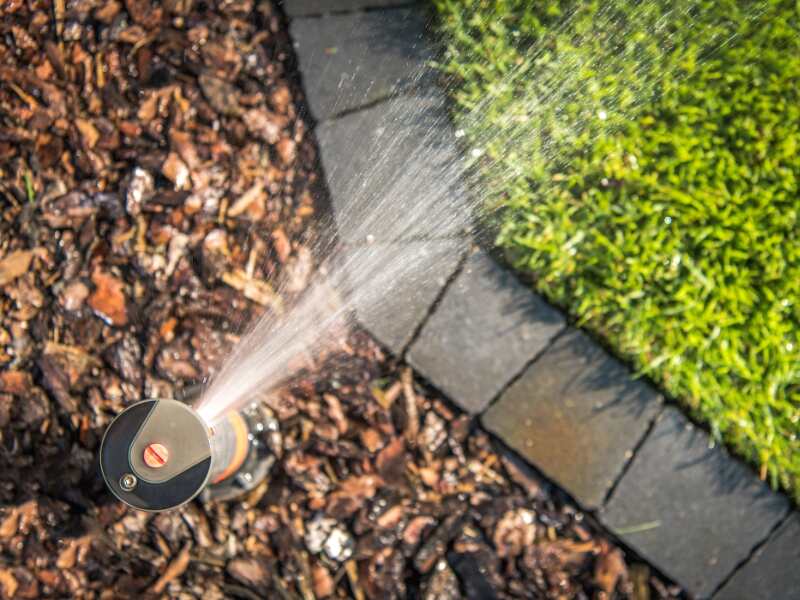
Gear-driven and multiple stream rotary sprinkler heads rotate, throwing a stream or streams of water in a circular pattern. These types also can be pop-up or above-ground heads. Some sprinklers rotate 360 degrees, and others only throw water in a partial arc. With rotor heads, you can adjust the spray radius and, frequently, the arc.
Adjusting the Spray Radius
- Insert a flat-head screwdriver into the radius adjustment screw on the top of the rotor.
- Using a flat-head screwdriver, turn the radius adjustment screw counterclockwise to decrease the radius and shorten the throw distance. Turn the screw clockwise to increase the radius and throw water further from the head.
Adjusting the Arc
- Grab the sprinkler head and carefully turn it counterclockwise (to the left) until it stops. This position is called the left stop and is the further left edge of the sprinkler spray pattern. There should be an arrow on the head pointing in the direction the water sprays.
- If you need to adjust the left stop, use a pair of vice grips to grab the sprinkler stem and gently turn it until the arrow points in the desired direction. For some brands of rotors, you might need to unscrew the rotor head from the stem, pull it out, reposition the left stop, and screw the head back into the sprinkler.
- Grab the sprinkler head again and turn it clockwise until it stops to find the right stop position.
- If you need to adjust the right stop position, hold the rotor in the right stop position with one hand. Using your other hand, insert a rotor adjustment tool into the keyhole on top of the rotor. Turn the key to the right to widen the arc; turn it to the left to narrow the spray arc.
- Repeat steps four and five as necessary.
How to Adjust Impact Sprinkler Heads
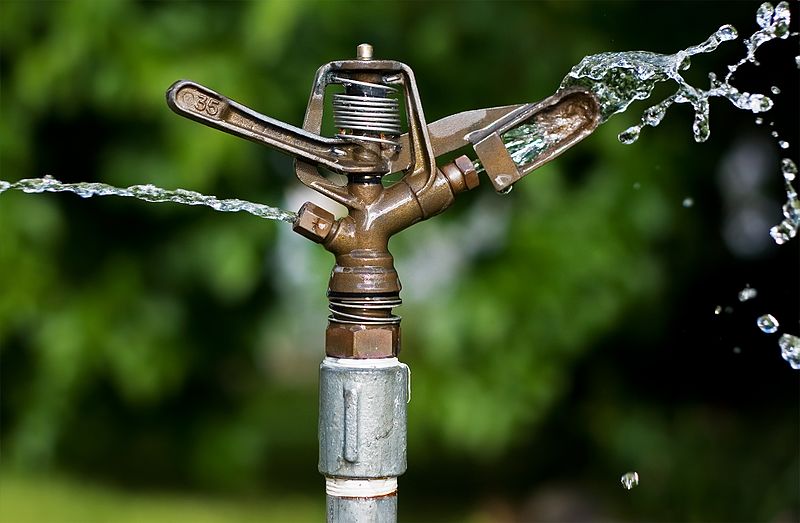
Impact sprinkler heads are typically above ground, but some pop-up units exist for in-ground sprinkler systems. Adjustment for both types is similar.
- You’ll move the metal stops to the left or right to adjust the spray pattern and direction. You may need pliers or vice grips to squeeze the tabs and pinch them together.
- To adjust the throw distance, you’ll turn the nozzle left to lower the spray deflector and spray water closer to the head. Turn the nozzle right to raise the spray deflector and create a higher arc, spraying water further away.
Tips for Adjusting Sprinkler Heads
- Most brands of sprinkler heads adjust similarly. However, double-checking the manufacturer’s website or the owner’s manual for specific instructions is always a good idea.
- Some manufacturers offer special adjustment tools that work with their sprinkler head line. These tools aren’t needed to adjust spray patterns but simplify the job. They’re typically available online or anyplace sprinkler parts are sold.
- It’s easiest to adjust pop-up sprinkler heads when your system is running. Turn it on and let the water pressure push the head out of the ground. Letting it come up on its own has less risk of damage than trying to pull the head out of the ground manually.
- When using a pair of vise grips to move the head’s position, be careful not to tighten them too much. It’s easy to crack the plastic on the sprinkler head body.
- Adjust the angle to avoid overspray onto sidewalks, driveways, or other non-landscaped areas.
How to Clear Debris from a Sprinkler Head Filter
If your sprinkler head doesn’t show signs of damage but isn’t spraying the correct pattern or amount of water from the spray nozzle, debris might clog the filter. Sometimes, simply clearing the debris that has collected over time may do the trick, and your sprinkler will work correctly.
Here’s how to clean your filter:
- Turn the sprinkler system on and wait for the head to pop out of the ground.
- Clamp it with vise grips or a sprinkler head lock tool.
- Turn the system off so the water stops flowing.
- Unscrew the head from the sprinkler stem and pull out the filter.
- Use a soft-bristled brush to clean the debris or mineral buildup from the filter. If the mineral scale is terrible, use vinegar or a commercial calcium, lime, and rust remover to clean it.
- Put the filter back in the stem and screw the head back on.
- Check the direction of the spray head and release the vise grip.
- Turn the system on to check that the spray direction is correct. Adjust if necessary.
Here’s a look at how to clean a sprinkler head filter.
How to Repair or Replace a Broken Sprinkler Head
One of the most common problems with a sprinkler system is head damage. Instead of calling a professional to replace a head, it’s easily a DIY project you can take on yourself.
I can’t stress enough that you must have the right sprinkler heads! It’s essential that you use the same brand and the same type (fixed spray, rotor), or you run the risk of the system not watering evenly.
- Rotor head sprinklers come in different rotation patterns. Some rotate a full circle while others only a half-circle. It’s important to replace a broken rotor head with one that rotates in the right direction.
- Fixed spray heads come in different (fixed) spray fan widths. You must purchase a replacement with the same fan width and approximate spray distance.
According to Jeff Watson of Bright Water Irrigation and Lighting in Central Florida, if homeowners get the wrong one, the spray in that zone will be distributed unevenly. One common mistake, Watson warns, is an incorrect sprinkler head. For instance, you can’t use a RainBird sprinkler head in a Toro system.
“You’ve got to get the right head for the right spot, and have the right fittings,” Watson said. Also, don’t install a stationary mister and rotating sprinkler head in the same zone. “It takes 20 minutes for a stationary mister to cover an area while it takes 75 minutes for a rotator,” he said. “You can’t put them in the same sprinkler zone.”
Before you go shopping for replacement heads — homeowners can order replacements online or at a local home improvement store — identify the following:
- The type of sprinkler head you need (fixed spray, gear-drive rotor, etc.)
- The make (i.e., Rain Bird, Orbit, Hunter, Toro, etc.) and model
- The size of the nozzle
The price range varies.
- Fixed spray sprinkler heads: $3 to $25
- Rotor sprinklers: $5 to $30
- Impact sprinkler heads: $7 to $30

How to Install a New Sprinkler Head
Once you’ve got the new sprinkler head(s) in hand, grab a shovel or garden trowel and head out to the yard to tackle the repair.
- Turn the water off to your sprinkler system.
- Carefully dig out a 1- to 2-inch ring around the sprinkler head, ensuring you don’t hit the water supply line. Try to keep the sod in one piece if possible. Set the sod to one side and the dirt on the other.
- Grasp the sprinkler head with your hand and unscrew it counterclockwise.
- Screw the new head onto the stem snugly, threading it clockwise until it is hand-tight. Don’t crank it down.
- Turn on the water to make sure there are no leaks.
- Fill the original dirt and sod back in around the head.
- Adjust the head so it’s spraying correctly.
Here’s a look at how to install a sprinkler head.
How to Replace a Broken Sprinkler Head Riser
Another problem with sprinkler heads is a broken riser. If it’s broken, you’ll be able to pull the sprinkler head out of the ground without unscrewing it. Like replacing a head, it’s a simple process.
You’ll need a new riser and some Teflon tape for this repair. Depending on where the part is broken, you may need a sprinkler riser removal tool available at a hardware store or online.
Repair the riser following these instructions:
- Turn the water off to your sprinkler system.
- Carefully dig out a 1- to 2-inch ring around the sprinkler head, ensuring you don’t hit the water supply line. Try to keep the sod in one piece if possible. Set the sod to one side and the dirt on the other.
- Remove the sprinkler and broken riser from the hole.
- Unscrew the riser from the sprinkler head if possible. If the riser has snapped off, leaving the threaded piece in the head, push the sprinkler riser removal tool in to catch the threads and turn the tool counterclockwise until the busted piece unscrews fully.
- If a piece of the riser is still attached to the PVC pipe connection, grasp it with your hand (or a pair of vice grips) and unscrew it using a counterclockwise motion. If the entire riser has snapped off, leaving the threads in the connection, push the sprinkler riser removal tool in to catch the threads and turn the tool counterclockwise until the busted piece unscrews fully.
- Wrap the threads where the riser connects to the supply line connector with Teflon tape. Do not wrap where the riser attaches to the sprinkler.
- Attach the new riser to the sprinkler by screwing it clockwise into the bottom of the head until it is hand-tight.
- Screw the new riser and head onto the connection snugly, threading it clockwise until it is hand-tight. Don’t crank it down.
- Turn on the water to make sure there are no leaks.
- Fill the original dirt and sod back in around the head.
- Adjust the head so it’s spraying correctly.
Here’s a look at how to replace the riser.
Who’s Responsible for Sprinkler Head Damage?
If a lawn service breaks your sprinkler heads, are you responsible for the repair? In most cases, with residential lawn services, there isn’t a contract detailing this. However, many reputable professionals will agree to cover the cost if they agree they are at fault for the damage.
Pro Tip: When hiring someone to perform lawn care service — especially core aeration — or landscaping, let them know you have a sprinkler system and the sprinklers’ location.
How Your Sprinkler System Works
Understanding how your sprinkler irrigation system works may be helpful if you’re trying to troubleshoot a problem and do repairs. Most systems consist of the following:
- A water supply pipe that’s connected to the main water source.
- A ground-level valve box that’s divided into different underground irrigation zones.
- Zone valves that control individual irrigation zones.
- An electronic controller that manages the time/duration of the watering sessions.
Your yard is divided into parts known as Irrigation zones. For example, a home could have multiple zones in the front yard for lawn and flower beds and additional zones in the back and side yard.
When the controller reaches the programmed start time for watering, it sends an electronic signal to open a zone value. When the zone valve is open, water flows through the underground pipes and into the irrigation heads in that zone, pushing the sprinklers up out of the ground. Water is emitted through those heads until the electronic controller shuts the valve off.
At that time, the water stops flowing through the lines and heads, and the heads drop into the ground.
FAQs About Adjusting and Repairing Lawn Sprinkler Heads
How Deep Are Sprinkler Heads Buried?
The depth of your system depends on the local climate and building code (if there is an applicable code). In most cases, sprinkler water supply lines are buried 8 to 12 inches deep. The sprinkler heads either attach directly to the water line or to a riser connecting to the line.
What Causes Sprinkler Heads to Break?
The most common causes of damage are lawnmowers, aerators, and vehicles going across the lawn, accidentally hitting heads. The best way to prevent the risk of damage is to install your sprinkler heads at the correct height — so they fully drop beneath the soil surface—and mark them with landscaping flags when you’re aerating or dethatching.
Winterize your sprinkler system to help prevent damage or breakage in cold climates.
What Is the Best Way to Identify Broken Sprinkler Heads?
The tell-tale signs of a broken sprinkler head are wild streams of water spurting from it or no water flowing. Upon closer inspection, you may see nozzles broken off or a damaged plastic casing around the sprinkler head.

Turn to an Expert for Sprinkler Repair
In most cases, sprinkler adjusting or repair is a simple, inexpensive DIY job. But instead of running back and forth to the store for parts and tools and then getting soaked repairing your sprinkler heads, why not hire a sprinkler system expert? Reach out to LawnStarter, and we’ll put you in touch with local irrigation experts who will have your sprinklers up and running beautifully in no time.
You can sit back and enjoy a fresh, green lawn that your neighbors envy.
Main Image Credit: welcomia / Canva Pro / License
