A sprinkler system makes watering your lawn easy and convenient. But if your area is subject to cold weather, winterizing the sprinklers must be one of your fall chores. Neglecting it will allow any standing water in the system to freeze — damaging the components and running up an expensive repair bill. So it’s important to learn how to winterize your sprinkler system.

About Winterizing Your Sprinkler System
Not all irrigation systems are the same. The design, size, and makeup of your sprinkler system will determine what method you will use to winterize it.
Knowing this will determine whether you want to make winterizing a DIY job or call in a professional. Should you decide to go the professional route, Russ Jundt, founder of Conserva Irrigation in Richmond, Va., suggests you look for companies that:
- Hold professional accreditations from the Irrigation Association.
- Back their service with a no-freeze damage warranty (or similar).
- Are licensed (where mandated) and insured.
- Offer seasonal packages that include summer services as well.
Winterizing a Sprinkler System: 5 Steps
If you’re going the DIY route to winterize your system, take these steps:
1. Inspect the System
Walk around your yard and look at the spray heads. Are any damaged or missing? Be on the lookout for wet spots that might signal a pipe leak. Check the other system components for damage and leaks, too. (This is also a good time to clean or replace any filters in the system.) If you find a problem, get it repaired before you winterize.
2. Turn Off the Water Supply
This may seem obvious, but it’s not as simple as turning off a faucet.
- Shut off the water: Do this at the main supply valve. You might want to put some water aside for necessities before you start.
- Turn off the stop and waste valve: The stop and waste valve sits between the backflow device and your water supply. However, you might have to hunt for it: It could be underground or in a basement or crawl space. Does your system have a backflow device? If the sprinklers work off your home’s water supply, it’s required.
- Drain and shut off backflow device valves. There are usually two valves, so be sure to shut both of them off.
3. Turn off the Timer
If your system has an automatic timer, you can shut it off or turn it to rain mode. Some experts recommend rain mode so the controller won’t lose its settings. If your timer has battery backup, take a look at the batteries, too.
4. Drain the Water
Draining excess water from the pipes is the most important step. Depending on the type of sprinkler system you have, there are different ways to go about it.
Manual draining. These systems have a shut-off valve at the low points or pipe ends. To drain water, slowly open the valves one at a time and let the water run out. Close when finished. Note: The water in the pipes is under pressure, so wear eye protection.
Automatic draining. These systems will drain the pipes if the water supply is off and water pressure drops. To activate, make sure the water is off, then turn on the sprinklers (one zone should do it). Note, some water may stay in the valves. To fix, loosen the solenoid on each valve. This will let in air to help push out the remaining water.
Blowout draining. This is the most complicated method of draining pipes and carries the most risk of damaging the system. The basic idea is that you connect an air compressor to your sprinkler system and blow out the standing water. A few things to consider:
- Make sure your system can handle the air pressure and airflow needed to blow out the water. PVC pipes can handle more pressure than polyethylene pipes. Read your system’s manual carefully before you begin.
- Use the right air compressor. Most home compressors will not produce the volume of air needed for the job (80-100 cubic feet per minute), so you may need to rent one.
- To get the proper size compressor, determine how many gallons of water per minute (GPM) flow through a zone. Check the design plan or the manufacturer’s website for this information. Then divide the gallons per minute rate by 7.5 to determine the cubic feet per minute of air volume (CFM) needed.
- Blow out one zone at a time. Trying to do too many zones at once can burst pipes and fittings.
- Do blowouts in short intervals. The air coming from the compressor can get hot enough to melt the system’s pipes. Two or three short blasts will prevent heat from building up.
Pro Tip: The sprinkler heads should remain up after you blow out the water, and compressed air will continue to flow through the system. This means that you used the correct size of compressor.
5. Insulate Any Exposed Components
The last step is to make sure that anything above ground is protected from freezing. Use insulation tape or even straw in some spots to protect:
- The main shut-off valve
- Above-ground and exposed pipes
- Backflow preventers
Protect Outside Faucets and Hoses
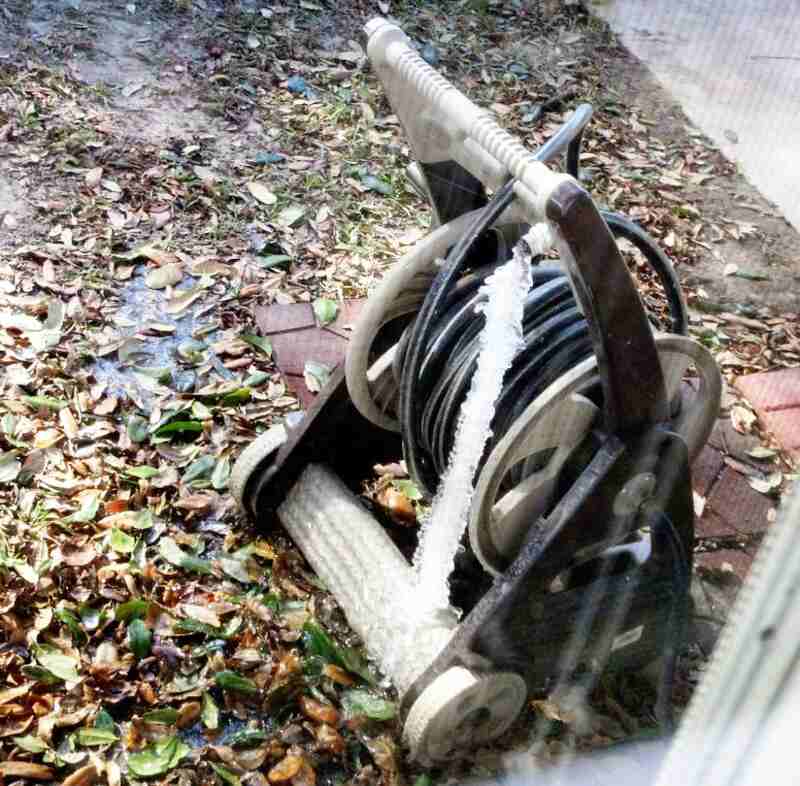
Photo Credit: Infogramation of New Orleans / Flickr / CC BY 2.0
A lawn sprinkler system isn’t the only thing that can be affected by a freeze. Outside faucets and garden hoses can freeze, too. To prevent damage from a frozen faucet or the cost of a new garden hose:
Shut Down the Outside Faucets
- Turn off water to the faucets using the interior shut-off valve. It’s usually found on the interior wall, directly behind the faucet. Then turn on the faucet to let it drain.
- Don’t have a shut-off valve? Turn off the water to the house at the main valve, then open the faucet to let it drain.
- Once drained, shut down the faucet. This will keep cold air out of your water pipes.
Disconnect the Hoses
- Disconnect and drain all garden hoses attached to exterior faucets. This prevents freeze damage at the hose bib.
- Store hoses in an area that won’t get below freezing. If you forget and the hose freezes, let it thaw before you touch it.

How Much Does it Cost to Winterize a Sprinkler System?
It costs $90 on average to have a sprinkler system professionally winterized. Costs vary depending on the size of your yard and number of zones:
- Typical price range – $60 to $120
- Lowest cost – $45
- Highest cost – $275
The costs for winterizing your sprinkler system also vary depending on the draining method your sprinkler system needs. Some examples:
Manual drain: This usually is the least-expensive method, with a typical cost of $65 to $150.
Automatic drain: Typical cost is $75 to $165.
Blowout method: This tends to be the most expensive option. Typically, this will run $85 to $235. If you decide on a DIY approach to this method, renting an air compressor will run $32 to $55 per day.
Note: Should your manual or automatic drain system need a blowout, expect a higher price tag.
FAQ
Yes, since many warm-weather areas still get freezing temperatures in the winter. Generally, you don’t have to worry about pipes freezing below ground, but you should winterize to protect any backflow preventers above ground.
The most common time frame is from early October to Thanksgiving. However, if you live in a colder climate, be aware of frost and freeze dates in your area, and winterize your system no later than a week before the first expected hard freeze. To be safe, pay attention to local forecasts since Old Man Winter doesn’t always follow a schedule.
Any method of draining sprinkler system pipes carries the risk of injury. To stay safe:
● Wear safety goggles when opening valves; water in the pipes is under pressure.
● Never stand over or near a sprinkler head or valve when running automatic draining or when using an air compressor.
● Use hearing protection when running an air compressor.
● Keep pets and children inside to protect them from noise and injury.
A professional, using a compressor that produces 80-100 cubic feet of air per minute, can average 5 minutes or fewer per zone. The length of the job depends on how large the system is, and how much airflow power you can muster.
When to Call in a Professional
Some of the prep work for a sprinkler winterization certainly can be done DIY, as can some of the drainage methods. However, most instructional websites strongly suggest that the blowout method be performed by a professional lawn care service.
If you’ve never drained a sprinkler system, or you aren’t confident about doing any of these methods, a local pro can quickly and safely prepare your system so it will be ready for spring.
Additional sources:
Colorado State University Extension
Main Image Credit: Karimpard / Flickr / License
