When leaves start to pile up in the Mile High City, it’s time to dig in and winterize your Denver garden, so you can reap the rewards of a bountiful spring.
Whether you have a full-sized garden plot, or window boxes and container plants, don’t skip out on the winter prep. You’ll have a lot more work to do if you wait until spring to get your hands dirty again.
From removing old vegetables to culling the compost pile, there’s plenty to do before the first frost arrives. So slip on your garden gloves, grab a spade and trowel, and follow our checklist detailing how to winterize your Denver garden.
14 Ways to Winterize Your Denver Garden
1. All hands on deck
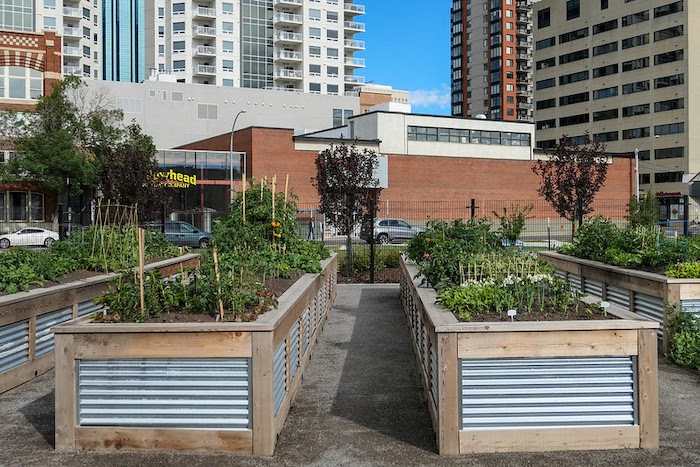
Whether you’re a part of a community garden in Denver or tending to your backyard flower and vegetable beds, you might want some helping hands for your winterization project.
Invite your fellow community gardeners — or your kids — to help you with the work ahead.
Having all hands on deck ensures no important tasks get overlooked and speeds the process so everyone can get back to enjoying the weekend.
2. Decide when to harvest
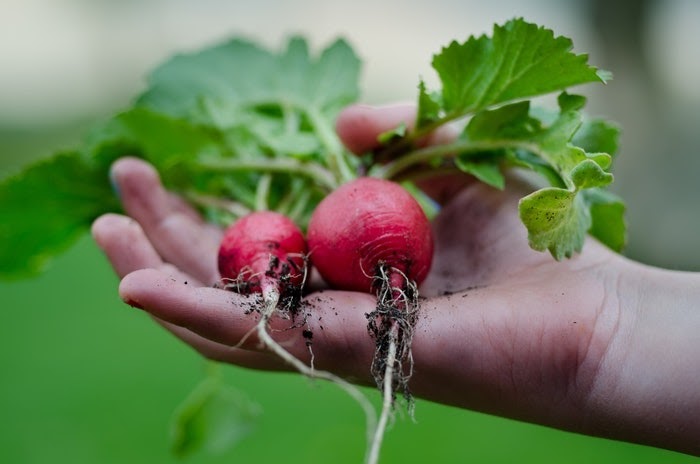
Denver is in plant Hardiness Zones 5 and 6. The growing season here is slightly shorter compared to growing seasons farther south.
Some Denver gardeners may try to increase their growing season by delaying their harvest, but take note: The first frost may interrupt a delayed harvest.
Even a light frost can destroy some of the vegetables you worked so hard to grow, such as tomatoes, but a frost also can make some vegetables taste better.
Greens like kale, collards, and swiss chard can become sweeter after a light frost.
If you’re growing crops like potatoes and carrots below the soil’s surface, you can afford to wait. These crops don’t mind a light frost, but they won’t survive a deep freeze.
If you need your carrots, beets, parsnips, and rutabagas to grow a bit longer, a slight delay in harvesting may work in your favor.
3. Remove annual flowers and vegetables
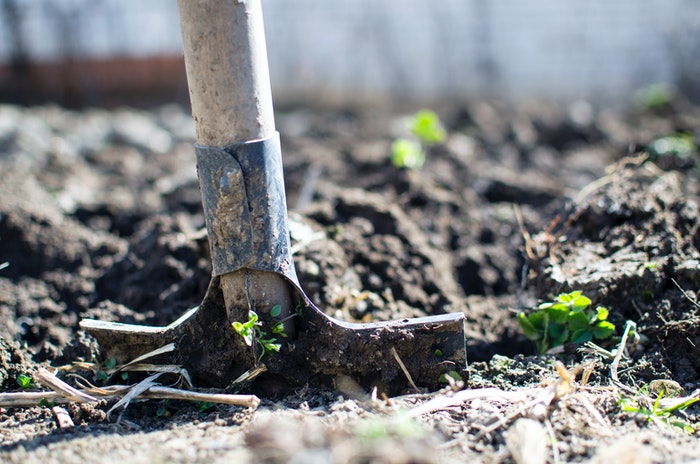
Annual vegetables and flowers need replanting every year. You can save yourself a lot of work by removing the dead plants before the first snow.
You may be tempted to let your spent plants decompose in the soil, but this will invite pests and diseases.
Many bacteria, rodents and pests will breed and overwinter in your old annuals and other garden debris. Don’t let these overwintering pests and diseases take over your healthy plants in the spring.
4. Pull the weeds
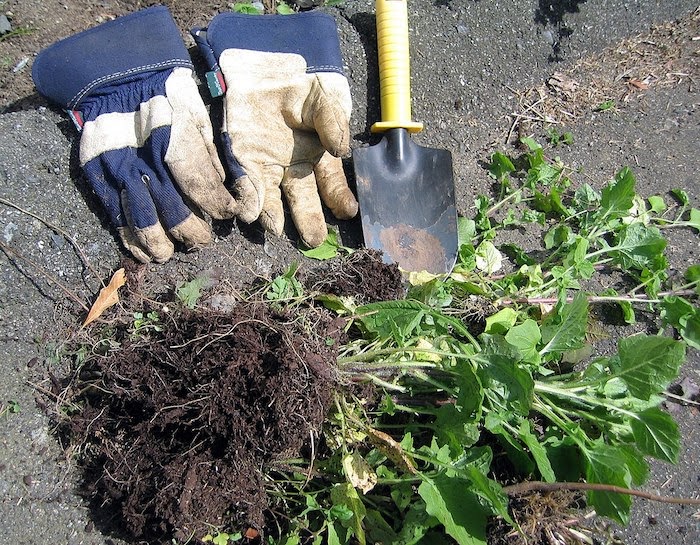
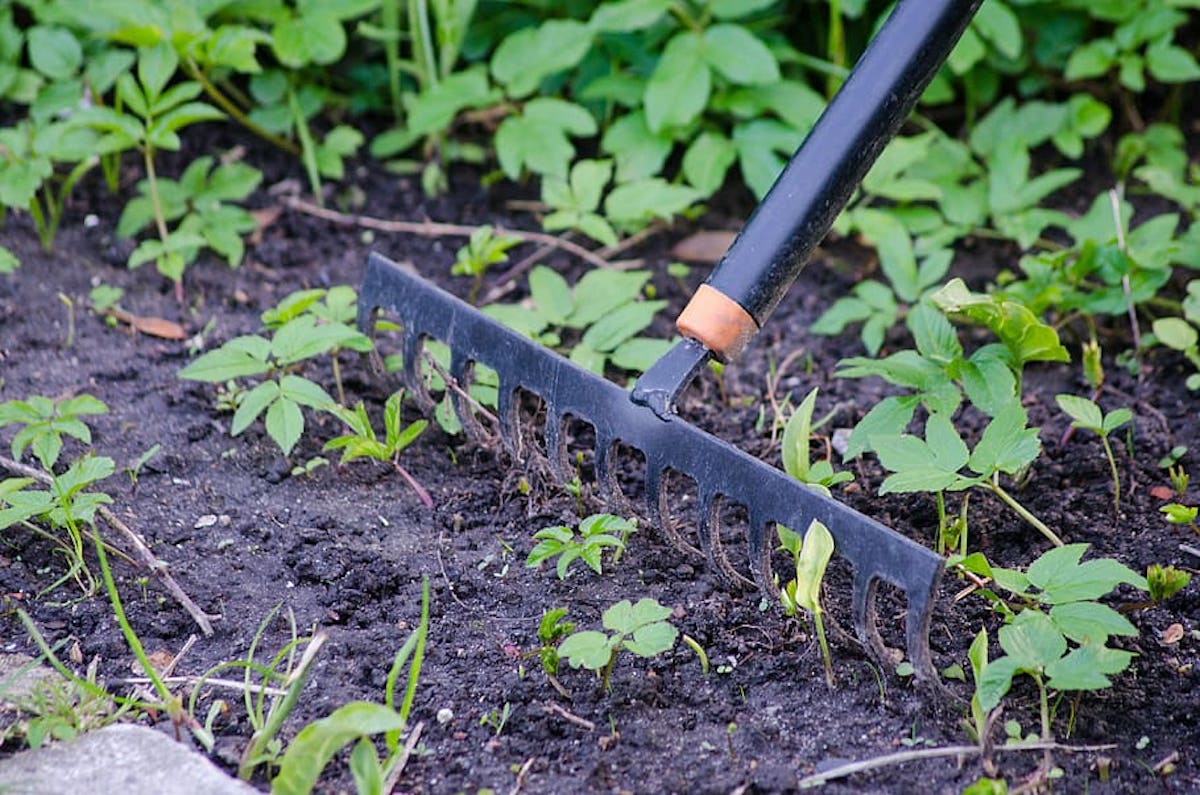
The pests and bacteria looking for a place to nest also will turn your weeds into real estate. Pull those weeds, clean up the debris, and your garden will reward you with healthy vegetables and flowers next year.
It’s actually easier to weed in the fall, after you’ve harvested your vegetables and removed the dead flowers. Why? The weeds have no place to hide, and you can use a general herbicide without fear of killing any plants.
It’s also easier to till the soil in the fall.
5. Divide your perennials
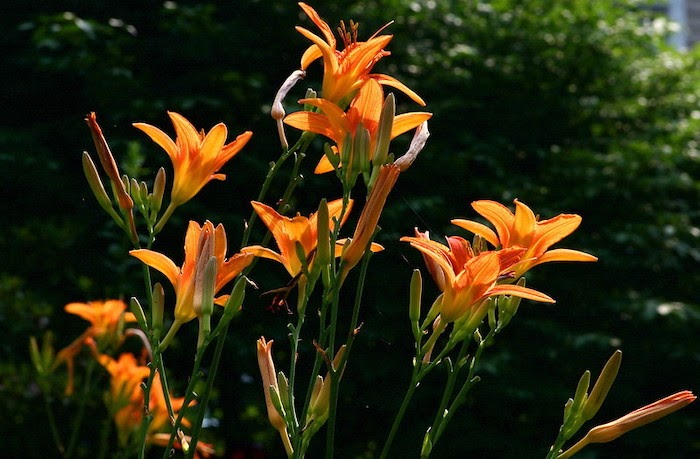
Some perennial flowers multiply as they grow in dense clusters. The roots and bulbs then begin to compete for air, space, and nutrients.
That’s why you need to divide your perennials before they clump up even more next growing season.
Here’s how to do this:
- Gently dig up the parent bulb and remove the loose dirt around its roots.
- Using great care, tease the roots apart.
- If the roots are resistant and unable to separate, cut them with a sharp knife or split the roots apart with two forks.
Make sure the divided plants have plenty of roots before re-burying them in your flower bed. Next growing season, your divided perennials should appear fuller and more spread out.
6. Cull the compost pile
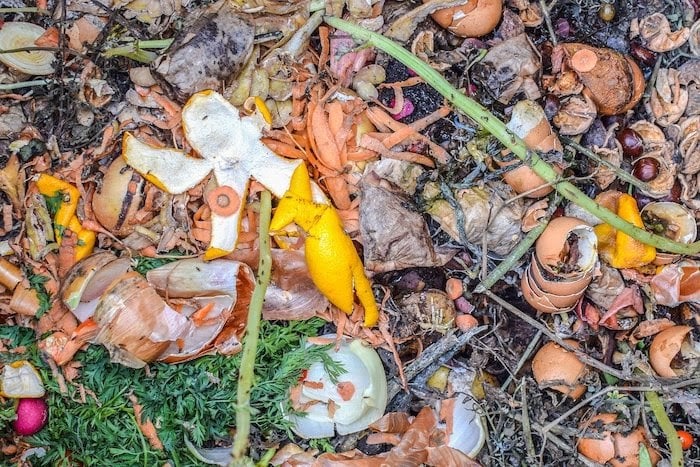
Every good garden needs a good compost pile, and this also needs winterizing.
Now that summer has passed, the compost pile should be sizzling with decomposed, nutrient-rich organic matter, baked by the sun.
Once you’ve tilled the soil, spread the decomposed compost over your flower beds and vegetable gardens. The compost will enrich and replenish the soil, giving your plants a head start for the next growing season.
Now that you’ve used some compost for your gardens, there should be some free space. Rake up the fallen autumn leaves and gather the holiday scraps to begin composting for next year’s garden nutrient booster.
7. Bring your tender plants indoors
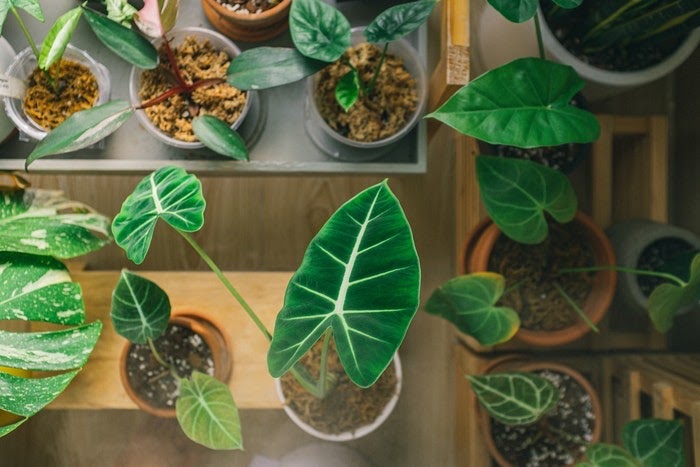
Winter hardiness levels vary among plants. Some plants can withstand a drop in temperatures, while others suffer. You can protect your healthy, outdoor plants by bringing them inside for the season.
Your most vulnerable plants include tropicals, potted flowers, succulents, and tender bulbs. A sudden drop in temps will shock and kill these plants.
Your tender bulbs will need some extra care. To protect vulnerable bulbs from frost and freezing temperatures:
- Remove them from the soil and dry them. Keep in mind that storing moist bulbs may lead to rot.
- Dry the bulbs on trays in the garage or tool shed, but make sure to do this before temperatures start getting too cold at night.
- Store the dry bulbs in mesh bags.
- Add several sheets of paper between the bulbs to absorb excess moisture.
8. Switch to a greenhouse or cold frame
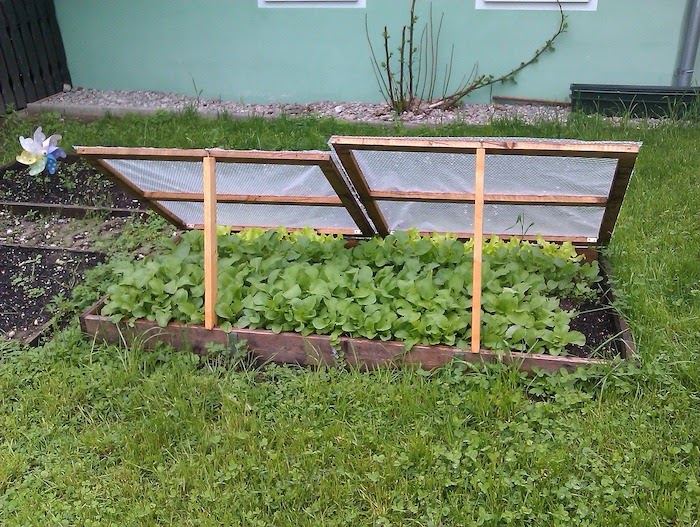
Temperatures start to drop early in the Denver metro, but you needn’t let that shorten your growing season. Build a small greenhouse for some winter gardening.
With a greenhouse, you can regulate your garden’s climate needs, even when the temperatures outside are too cold for your plants. A good greenhouse can provide the right growing conditions year round.
Greenhouses range in size from small sheds to large buildings. If you want to go really small, opt for a mini-greenhouse or cold frame.
9. Insulate your plants with mulch
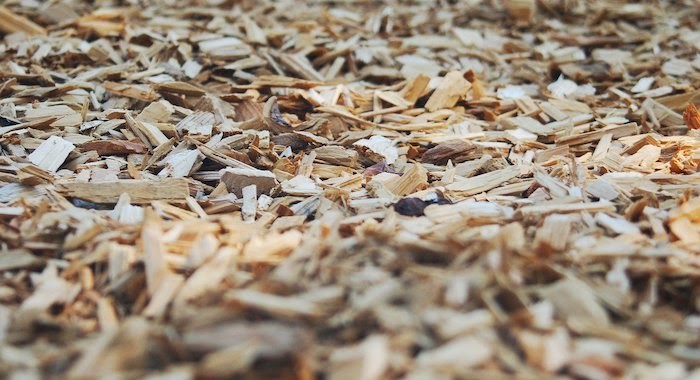
A 2- to 3-inch thick layer of mulch will help protect your plants through the winter.
How mulch protects your plants: Mulch creates an insulation barrier, separating the soil from the air, keeping your plants cool through winter. This separation helps to keep the soil temperature consistent through the cold months.
Without insulation, some of your perennial plants may begin to grow prematurely during a warm spell. As temperatures continue to fluctuate, your plants are vulnerable to an unhealthy cycle of freezing and thawing.
Organic mulch, such as wood chips or shredded leaves, also can help retain moisture, control weeds, and add enhancing organic material to an autumn garden’s depleted soil.
10. Cover vulnerable plants
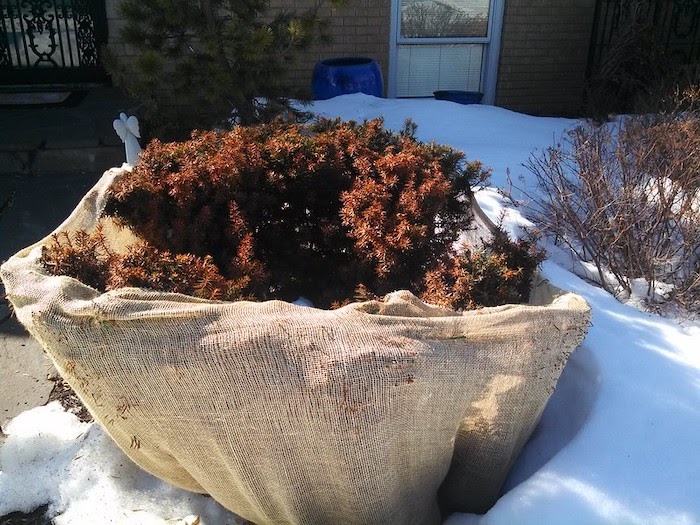
Your garden’s woody plants may look tough, but harsh winter winds can cause dryness, winter burn, or stress.
If you’re establishing new shrubs or trees, they’ll need some protection this winter. When 9News predicts a freeze, cover these growing plants with burlap, landscape fabric, or blankets to keep them warm.
Even your flower beds can use a barrier from heavy snowfalls and frosts. Cover your flowers with tablecloths, landscape fabric, or bed sheets for extra protection.
Note: When the threat of frost has passed, remove these coverings to ensure your plants get enough sunlight and don’t get too warm.
11. Shut off your irrigation system
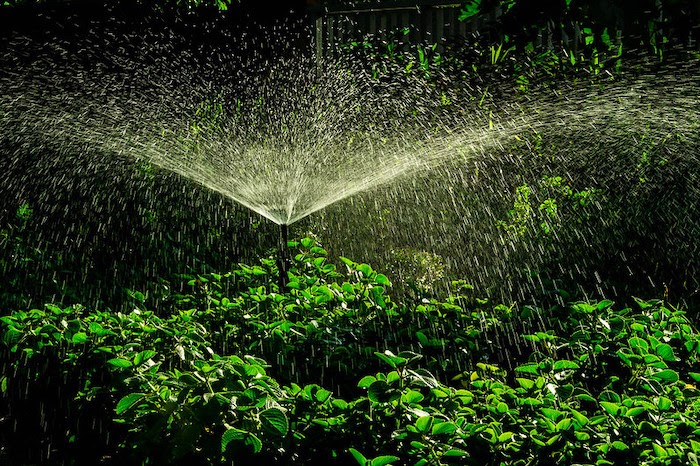
You don’t want your holiday season ruined by frozen pipes, which can cause significant damage and result in costly repairs.
The simple solution? Winterize your irrigation system before temperatures drop below freezing. That means turning off the sprinklers and blowing out the pipes.
If you have a garden pond or water garden, consider the needs of your aquatic life. Removing the pump will keep it from freezing, but the lack of moving water in the pond may encourage ice to form, which could kill the fish.
Speak with a professional to determine the best winter strategy for your water garden or garden pond. If you choose to keep your pond pump running through winter, perform routine maintenance to ensure your pump doesn’t freeze.
12. Clean your gardening tools
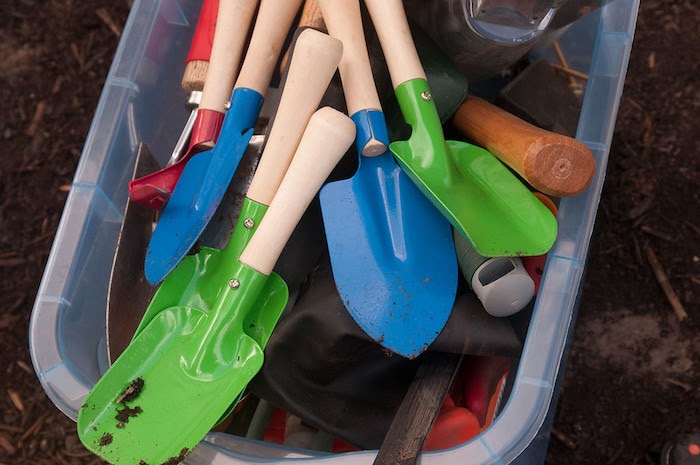
Tool maintenance and cleaning are essential for a healthy garden. Dirty tools can spread plant diseases and pests.
So, get the hot water running, the soap bubbling, and let’s get those tools squeaky clean.
Routine maintenance also ensures your tools are sharp, long-lasting, and ready to slice through the soil. Dull or damaged tools aren’t going to make your gardening chores any easier.
13. Give your garden a long drink
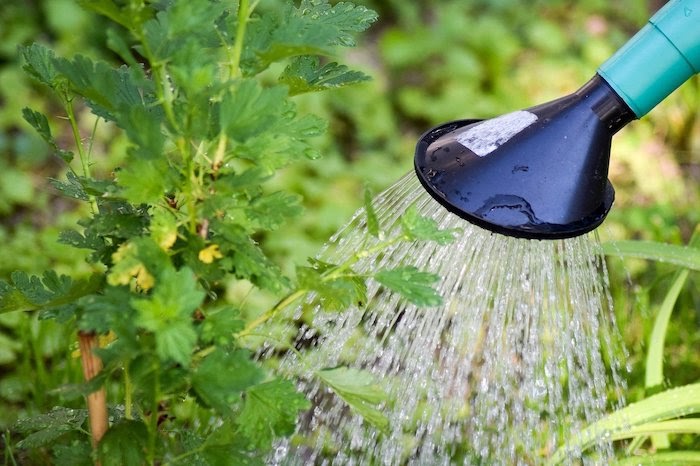
You don’t have to water your gardens as much in the winter as you do in the spring, but for your plants to survive the dry winter ahead, give them a long drink of water before the first lasting cold spell.
Then, through winter, give your plants a deep watering a few times a month to help protect their roots from dry weather.
Note: Avoid watering gardens when the temperature is close to freezing. It’s best to give your plants a replenishing drink on those unseasonably warm days.
14. Review this year’s successes
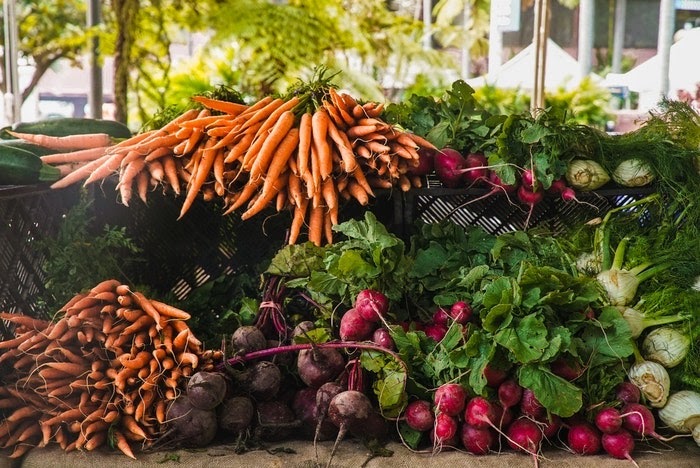
As you begin to winterize the garden, determine which plants should stay and which ones should go. Ask yourself: Which vegetable brought you the best harvest? Which plant was too tough to maintain?
After reviewing this year’s successes, you’ll have a good attack plan for your garden winterization project and a head start on your plant selection come springtime.
Perhaps instead of dividing the daylilies, you may decide to replace them with flowers that had a better growing season.
Reviewing your garden victories helps you grow the plants that will perform best.
When to Call a Professional
If winterizing your Denver garden proves difficult, call a Denver landscape professional near you to help. A professional can help winterize the irrigation system to prevent freezing pipes, cover the garden beds with mulch, and even maintain your other landscape features through winter.
Whether you DIY or hire a pro to prep your garden and yard for the cold, snow, and ice, the goal is the same:
Once your garden is set for winter, you’re ready to hit the Printed Page, Tattered Cover, or your library branch to find some books to curl up with in the weeks ahead.
Main Photo Credit: pxfuel

